- Home
- >
- Help Center
- >
- Website Management
- >
- Upload Photos
Upload Photos
Uploading photos is a breeze on either your computer, tablet or smartphone.
Video Tutorial
A video of this process can be found here.
Photos
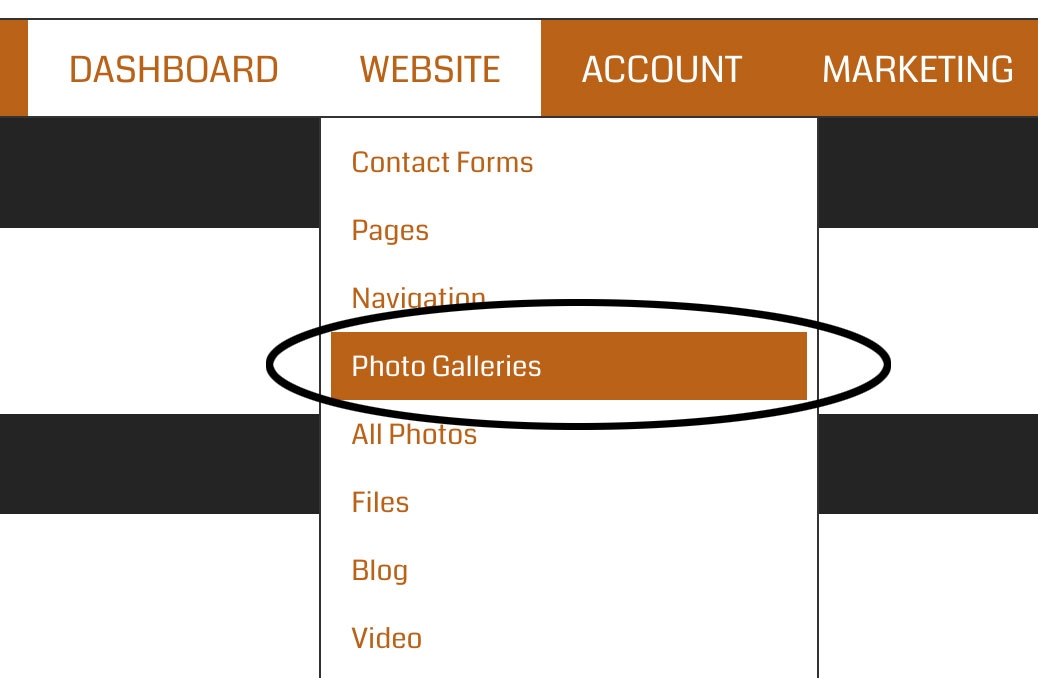
- Navigate to the Photo Galleries area under Websites
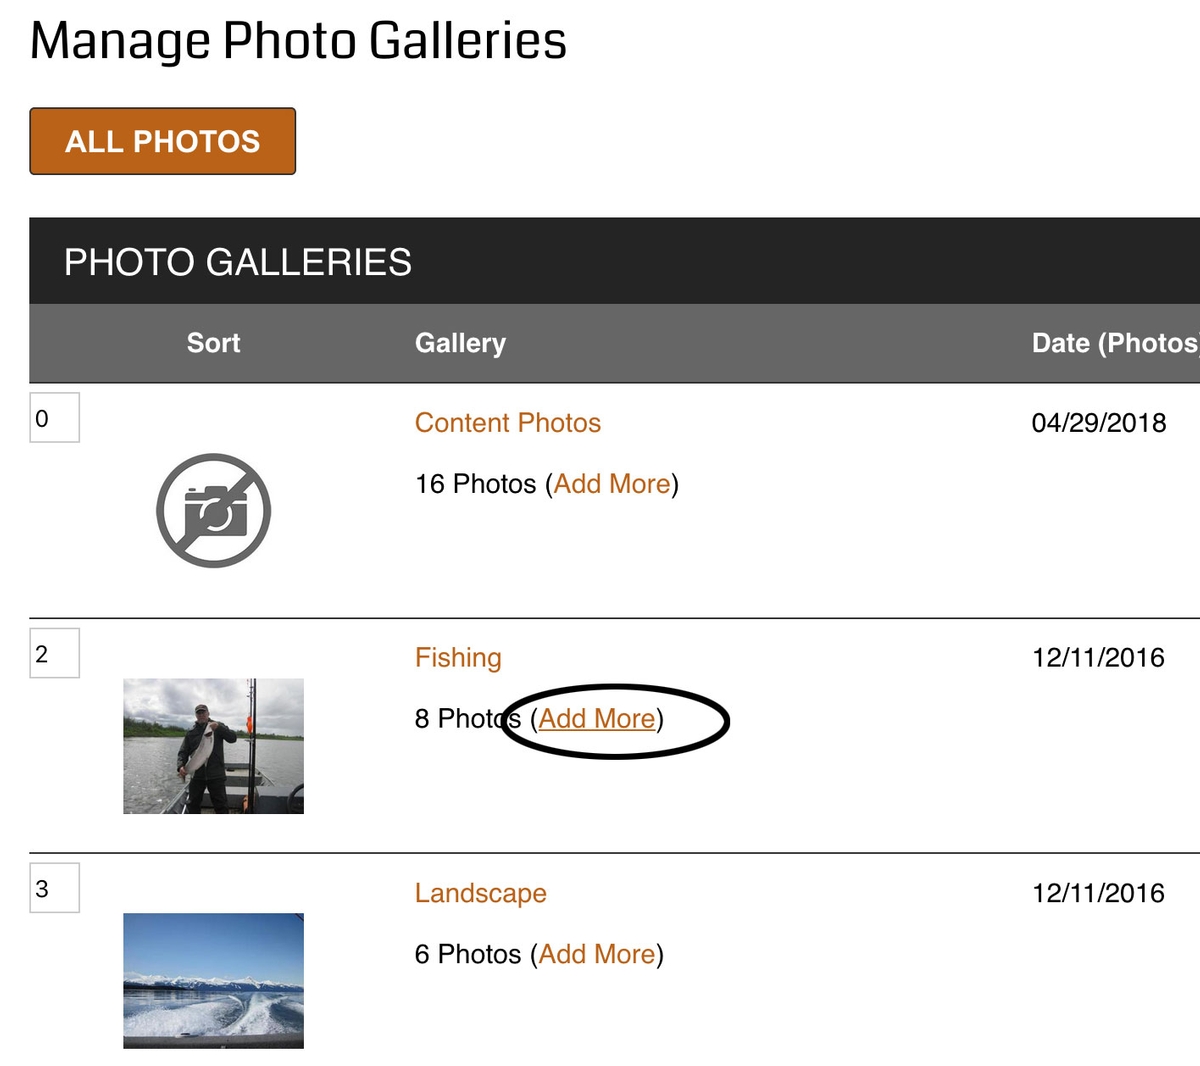
- Find the Gallery you would like to add to and click ADD MORE
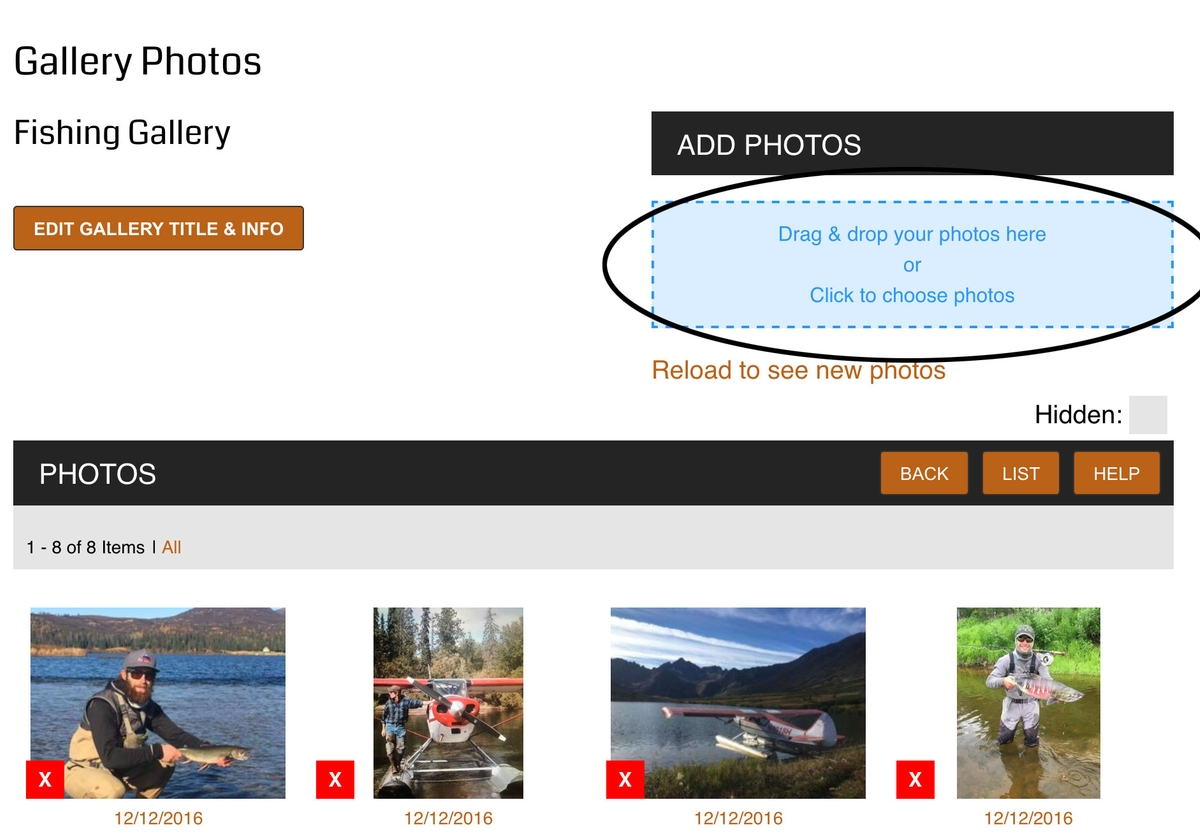
- On the right hand side you will see ADD PHOTOS.
- Either Drag and drop the photos or
- Click the box and choose files
- You now will see the photos uploading with a percentage next to them
- When there is nothing under the box anymore, your upload is complete
- Note: Size and/or internet connection will affect the speed of this process
- Click the Reload to see new photos link under the box and your new pictures will appear
- If you would like to make any of the new photos the cover photo:
- Simply click into that individual picture
- Scroll to the bottom and click YES next to Gallery Feature
- Click Save
- If you would like to make any of the new photos the cover photo:
How do I name my photos correctly?
Here are some tips to rename a photo correctly for good SEO and as a good practice.
- Rename your photo to something like this: ryan-hunting-south-dakota-2009.jpg
- Use dashes. Avoid spaces at all costs.
- All lower case lettering (group-at-the-lodge.jpg)
- Don’t over spam the same words. Mix them up!
- Mix up keywords in photos. Don't use the same names over and over.
- Optimize photos: ex. pheasant-crp-land.jpg
If after you load photos into a gallery and do not see them live on your website, chances are you have not selected one of those photos to be your featured photo. You must select a featured photo or you WILL NOT see the gallery appear. And every unique gallery, must have a unique featured photo.
To mark a photo as your featured photo:
- Click into the Gallery you would like to edit
- Click which photo you would like be to be the cover/feature photo
- Click Save
You should now have all the pictures showing up on the live website.
Upload Issues
Photo uploading issues.
White Blank Box
When loading photos in your photo gallery, you may run into a problem where the photo says it is loaded, but only a white box shows up:
If you see this, check the name of the file. Photos should only be named with letters, numbers and dashes. Make sure all special characters (% or & or @ or #) are removed. Once you have renamed the file, upload it again. For Example: a photo named "ryans%bighunt&deer" would not upload correctly because of the % and & in the name. When I rename to "ryans-big-hunt-deer" or even "ryansbighuntdeer" it will load just fine. More information on how naming photos can work for you.
HEIC iPhone Issue
If you take photos using an iPhone (iPhone 11 as well as other recent iPhone versions) and are having trouble uploading these images to your 3plains Portal, the problem may be due to the images being saved as HEIC (High Efficiency Image Format).
NOTE: Images saved as HEIC may still show up as JPEG images in your list of images, and if your iPhone and Apple computer are connected via iCloud, your iPhone photos may automatically be downloaded onto your desktop/laptop, thus still being saved as HEIC files.
In the upload screen, your images may show up with distorted color or not show at all.
Options Available:
1. You can convert the HEIC images into JPEGs using a free service such as heictojpg.com.
2. You can export the HEIC images as JPEGs on your Apple computer one at a time.
How to:
- Open the image using the Preview program on your Mac (typically the default program when you open an image file).
- Click on "File" (in the navigation bar at the top of your screen), then "Export".
- Select JPEG as the format and click "Save".
OR
- Open the image in Preview.
- Click on "File" (in the navigation bar at the top of your screen).
- Select "Save As" (if this option is not immediately visible, hold down the Option key and it should appear)
- Select JPEG as the format and click "Save".
3. Change a setting on your iPhone:
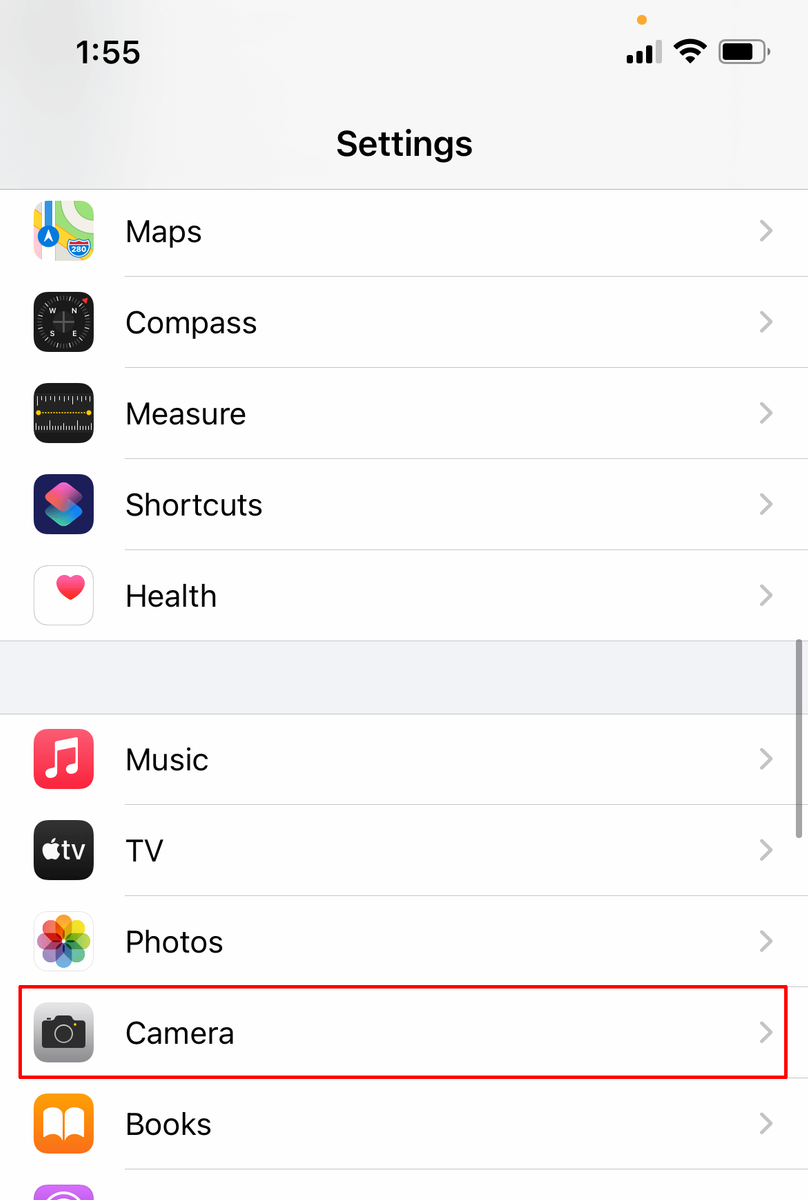
Open the Settings app on the iPhone and go to "Camera".
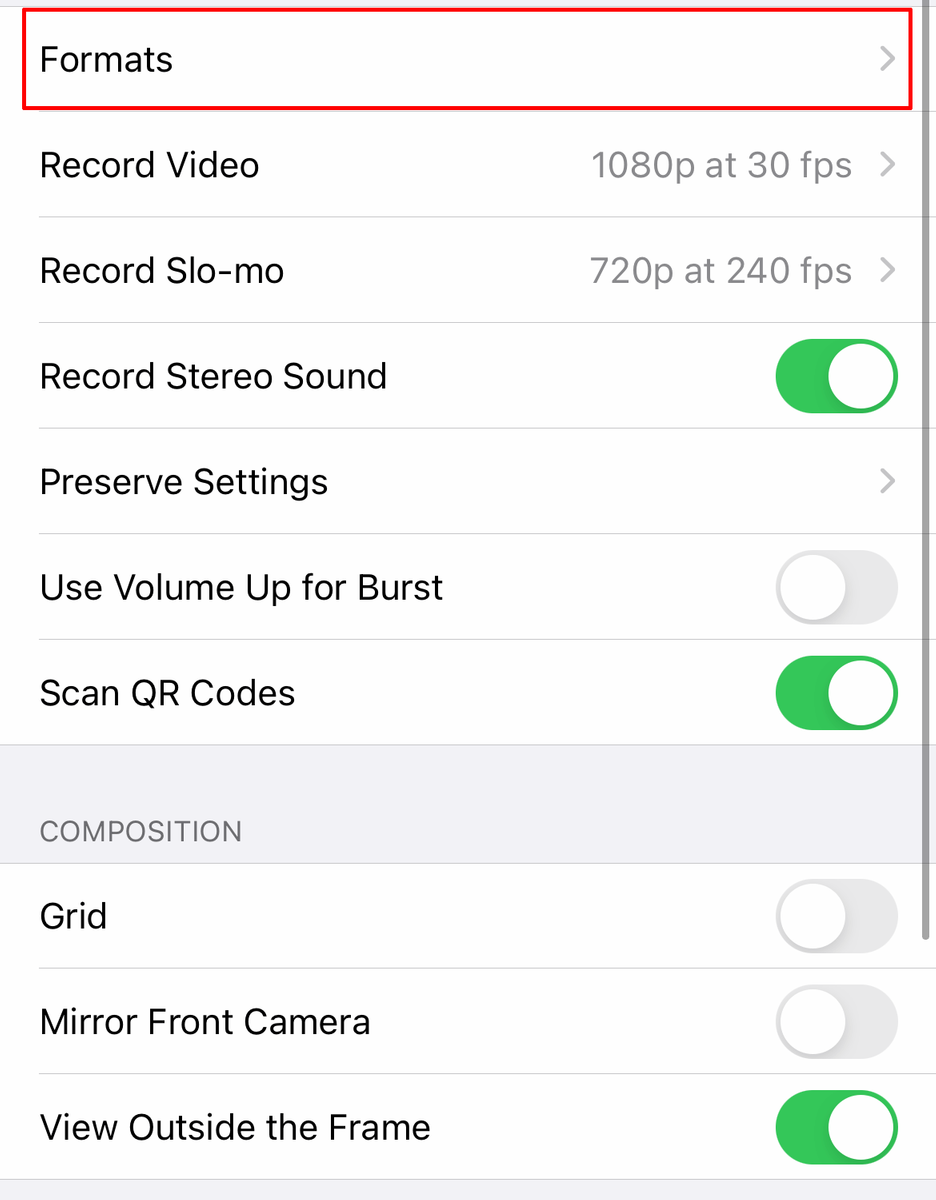
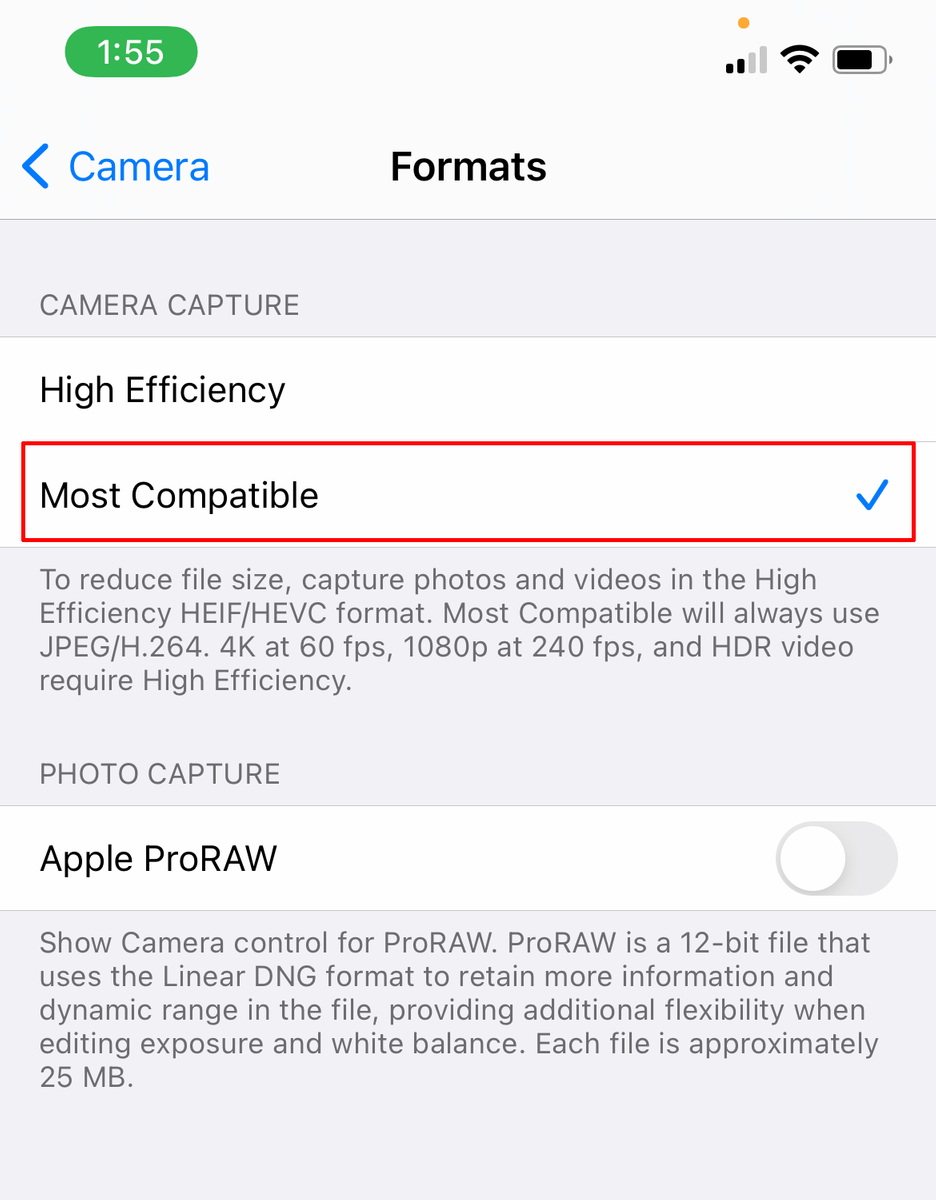
Choose "Formats" and select "Most Compatible" to shoot photos in JPEG format on your iPhone camera instead of HEIC.
Exit out of Settings.
For more info about the iPhone HEIC image format, see this MacPaw article: HEIC format explained: Why does iPhone use HEIC system?
Still need help or don't want to DIY?
We have maintenance service and website update packages available. Please fill out a ticket and a 3plains representative will reach out to you with details on pricing and packages.
Last Updated: 2024-03-17
Back to Website Management